How to Setup 3 Monitors on Your Laptop for Maximum Productivity
Expand your digital workspace by configuring a triple-monitor setup on your Windows laptop.
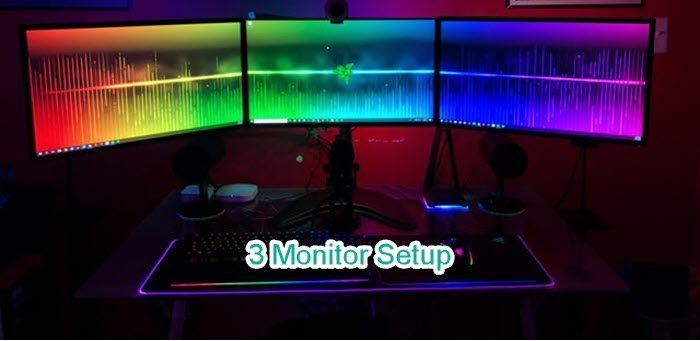
Evaluating Your Laptop's Graphics and Port Capabilities
Before purchasing new cables or screens, you must evaluate whether your laptop's hardware can handle three external displays. Many modern computers can output to multiple monitors, but the exact limit depends heavily on your graphics processing unit (GPU). Some integrated chips only support a total of two active screens, meaning you would have to disable your laptop's built-in screen to run two external monitors, or you might not be able to run three external displays at all.
Check the physical sides of your laptop to see what video outputs are available. Common ports include HDMI, DisplayPort, and USB-C or Thunderbolt. If your device lacks enough native video ports, you will need to rely on external hardware adapters to expand your display capabilities.
Sources: support.microsoft.com
Choosing the Right Docking Station or Hub
Because most laptops do not feature three separate built-in video output ports, a docking station or multi-port hub is typically required to achieve a triple-monitor setup. A compatible USB-C or Thunderbolt dock can split a single physical connection into multiple HDMI or DisplayPort outputs. When selecting a dock, look for one that supports Multi-Stream Transport (MST) to ensure Windows can extend your desktop across all displays rather than mirroring a single image.
Be aware that hardware compatibility standards, pricing, and specific port protocols change frequently. It is highly recommended to verify with your laptop manufacturer and dock provider to confirm that your specific laptop model supports the resolution and refresh rate requirements of your chosen monitors.
Sources: support.microsoft.com
Connecting the Physical Monitors
To begin the physical setup, place your three external monitors on your desk and connect them to their respective power sources. Turn on each display. Next, use the appropriate HDMI, DisplayPort, or USB-C cables to connect the monitors to your docking station or directly to the open ports on your laptop.
Windows is designed to automatically detect and install new hardware as soon as a physical connection is established. When you plug the displays in, your screens may blink or flicker briefly while the operating system registers the new hardware. If a display remains blank, double-check that the monitor is set to the correct input channel via its physical menu buttons.
Sources: support.microsoft.com
Manually Adding Displays in Windows 11
If Windows 11 does not automatically detect one of your external monitors, or if you are setting up a wireless or Bluetooth-enabled display accessory, you will need to add the hardware manually. To perform this manual setup, click on the Start menu, navigate to Settings, select Bluetooth & devices, and then click on Devices.
On the screen that opens, click the Add device button. Ensure that your external monitor or accessory is turned on, kept close to your PC, and set to pairing mode if it connects wirelessly. Follow the step-by-step on-screen instructions to complete the setup so Windows can properly recognize and utilize the hardware.
Sources: support.microsoft.com
Manually Adding Displays in Windows 10
For laptops running Windows 10, the manual detection process follows a slightly different path. Click on the Start menu, go to Settings, and select Devices. In the Bluetooth & other devices window, click on the Add Bluetooth or other device option, and then follow the on-screen prompts to manually finish adding your device.
Keep in mind that official support for Windows 10 is scheduled to end on October 14, 2025. After this date, security updates, technical support, and software fixes will no longer be provided for Windows 10. To maintain a secure and fully supported multi-monitor environment, transitioning to Windows 11 is highly recommended.
Sources: support.microsoft.com
Arranging and Troubleshooting Your Virtual Desktop
Once all three monitors are connected and recognized, you must configure their virtual layout so your mouse pointer moves seamlessly across the screens. Right-click on an empty area of your desktop and select Display settings. Click the Identify button to display a number on each physical monitor, then drag the corresponding numbered boxes in the settings window to match their actual physical layout on your desk.
If you encounter display issues, such as a monitor failing to wake up, you can check for the latest graphics driver updates or check your physical cable connections. If you ever need to revert your workspace to its original state, simply disconnect the docking station or video cables from your laptop, and Windows will automatically return your desktop layout to your single laptop screen.
Sources: support.microsoft.com